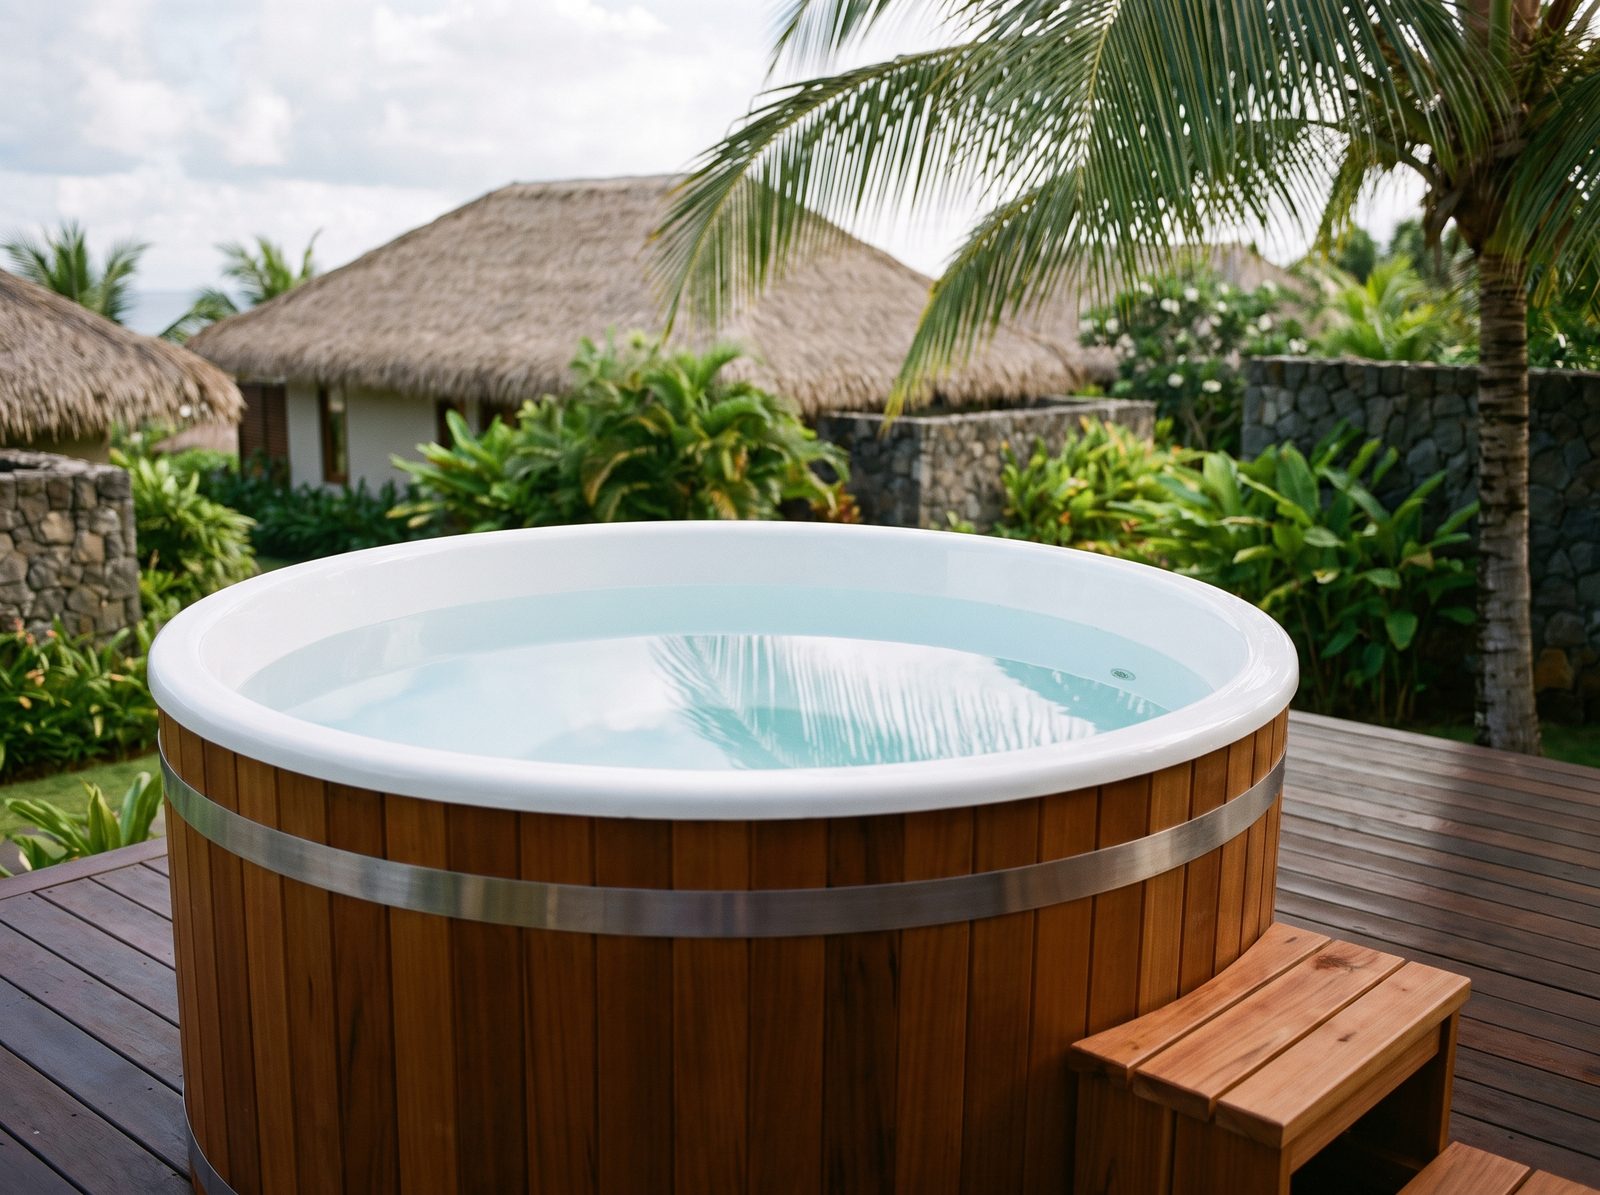
Cold8 min
Ice bath temperature: why colder is not better
Ice bath temperature isn't a race to the lowest number. The 8–12°C working range, a 15°C beginner entry, and…
Wellness Zones
Wellness zone design is a circulation problem: the order of hot room, plunge and rest, the distances between them, drainage falls and orientation.
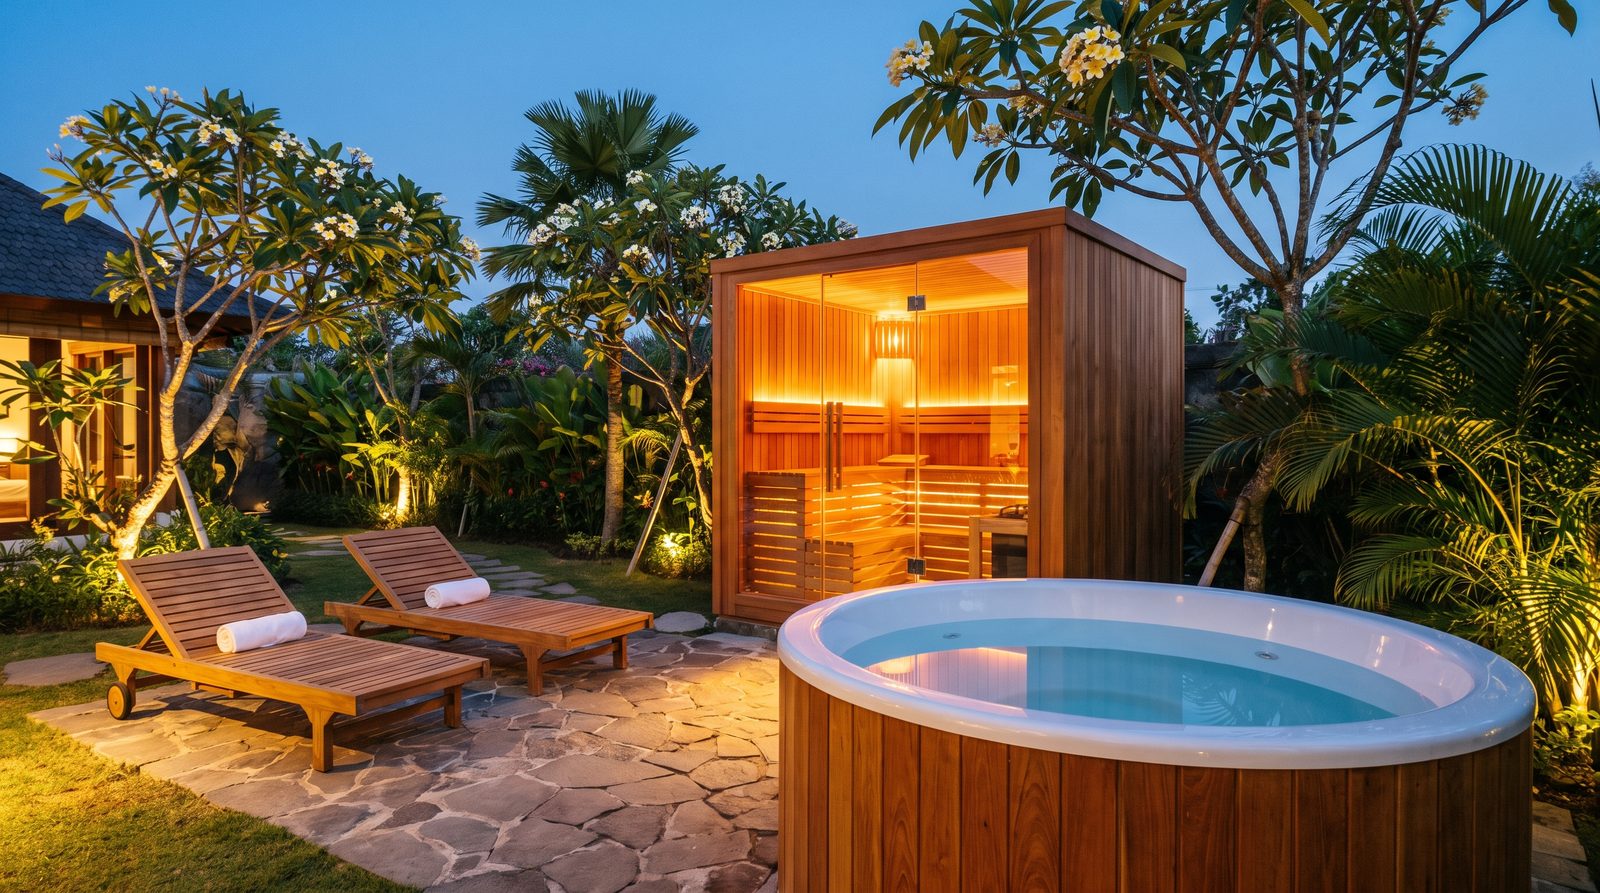
Wellness zone design is not a shopping exercise. You are not picking a sauna, then a plunge, then finding somewhere to put a couple of loungers. You are designing a circuit: a sequence of hot, cold and rest that a body moves through in a fixed order, and every metre of distance and every centimetre of fall in the paving either supports that sequence or fights it.
Get the sequence right and three separate structures behave like one system used most days of the week. Get it wrong — plunge too close to the heat, rest deck in full sun, drainage an afterthought — and you have an expensive set of garden objects photographed once and rarely used again. This is the conversation we have at every survey, before anyone talks about which sauna model or which chiller.
A standard circuit is fifteen to twenty minutes in the hot room, one to three minutes in the plunge, then ten to fifteen minutes resting before deciding whether to go again. Two or three rounds is typical for a session. That rhythm is not arbitrary — it is what lets heat fully leave the body before cold hits it, and what lets things settle before the next hot round starts.
The layout has to mirror that rhythm. The sauna door should not open directly onto the plunge — you want a short, deliberate walk between them, not a single stumbling step from 90°C air into cold water. The rest area needs a clear sightline back to the hot room, so people can judge when to go back in without walking the whole loop to check. And the path between all three should be one continuous route, not a switchback that has you crossing your own wet footprints twice.
Most zones that fail to get used were built as three separate purchases rather than one circuit — sauna where the view was best, plunge where the plumbing was easiest, rest area in whatever corner was left. None of those decisions is wrong alone. Together, without a plan, they usually are.
Three to five metres between the sauna door and the plunge is the working range we design to on almost every villa site. Closer than that and the plunge sits inside the sauna's heat plume — the chiller runs harder than its rating suggests it should, and condensation from the hot room reaches the plunge deck. Further than about eight metres, the walk stops being part of the ritual and starts being a chore: in a downpour, people skip a walk they would happily make if it were ten steps.
| Distance | Effect |
|---|---|
| Under 2 m | Plunge sits in the heat plume. Chiller works harder. Condensation reaches the plunge deck. |
| 3–5 m | Working range. Walk reads as part of the ritual. Plunge stays clear of heat and drip. |
| Over 8 m | Fine on a large plot, but expect the walk to get skipped in rain and the rest area to drift elsewhere. |
The path itself needs the same attention as the structures either side of it. It is wet more often than dry, so it gets a non-slip surface and its own fall toward a drain — never toward the sauna's timber base. A cabin sauna with a proper deck and a chilled plunge can be positioned to the centimetre once this distance is the target, not a guess.
At 30°C ambient and 80–90% humidity, the rest phase does not happen by itself the way it does in a cold climate. Step out of the plunge in Finland and the winter air finishes the job. Step out of the plunge here and, without shade and moving air, you are working back up a sweat within a few minutes — the rest phase never actually completes, and the next hot round starts from a worse baseline than the one before it.
So the rest area needs two things before it needs any furniture: shade, and air that is actually moving. A roof alone is not enough if it traps still, humid air underneath it. Reading the prevailing wind at survey — direction, what blocks it, what a screen wall would do to it — decides where the rest area goes, sometimes overriding where the client originally pictured the loungers.
An open slatted timber or thatched roof over a rest deck breathes. A solid roof on short posts over the same deck traps hot, wet air at head height and can leave the space feeling worse than open sun with a real breeze.
A ceiling fan on its own switch, wired in at the design stage, does more for daily use than the loungers underneath it. The full argument is in our guide to the Nordic sauna cycle in a tropical climate.
A wellness zone produces more water than most gardens are built to handle: plunge splash, sauna condensate, shower runoff, and monsoon rain on top of all of it. None of that can be left to soak in wherever it lands — standing water under a timber deck is exactly how you grow rot and invite termites.
Hard landscaping around the zone needs a genuine fall — roughly 1:60 to 1:80 across paths and decks is enough to move water without the surface feeling like a ramp underfoot. That fall has to run to somewhere: a channel drain at the plunge overflow, a gravel soakaway at the edge of the site, or a connection into existing site drainage, decided before the paving goes down.
Deciding drainage after the deck is built means cutting into finished work to add falls and channels that should have been there from the start. It is the single most expensive sequencing mistake we see corrected on site.
Plunge overflow deserves its own line, separate from the general path fall, running somewhere deliberate rather than onto the nearest patch of lawn, which will not thank you for the salt or sanitiser in it.
Two electrical circuits and one water line need planning before anything gets built, not retrofitted once the structures are in place. The plunge's chiller and pump need a dedicated RCD-protected circuit — not something to share with garden lighting. The sauna heater is the bigger draw: anything above roughly 6 kW commonly runs into the limits of a single-phase PLN villa supply, and whether you need a supply upgrade or a three-phase connection has to be decided at design stage, because it changes what conduit gets laid and where.
Conduit for both circuits should go in before hardscaping, in a route that will not need digging up later, with spare capacity for anything added afterwards — path lighting, a heater upgrade, a second pump. The same logic applies to the water line: plan the run, sleeve it under paths, and label both ends.
The full breakdown of supply sizing, what a survey checks on your board, and when an upgrade is unavoidable is covered in our guide to sauna electrical requirements in Lombok. It is worth reading before you fix a layout, because in a few cases the supply itself decides where the heater — and therefore the whole zone — can practically go.
Orientation decides two different things for a wellness zone, and they sometimes pull in opposite directions. For the rest area, afternoon shade matters more than the view — a west-facing deck with no overhead cover turns into a griddle for exactly the hours people are most likely to use it. For a sauna with any glass in it, orientation instead decides thermal gain and whether you get sunset light or a cooler room — its own subject entirely.
Privacy is the other half of orientation. A cold plunge involves swimwear and cold-water reactions that are not always graceful, plus — on a shared villa or hotel plot — sightlines from guest areas and neighbouring properties that need checking at survey, not assumed from a floor plan. Screening solves this, but a solid wall in the wrong place blocks the breeze the rest area needed. Slatted screening, angled to break sightlines while still passing air, usually does both jobs at once. How much screening a plunge really needs also depends on who is getting in — a family villa, a hotel wellness zone and a busy gym floor each set the bar differently, a spread we walk through in our look at ice baths across Lombok's villas, gyms and retreats.
None of this is guesswork done from a desk. It is why a survey walks the actual plot at the actual time of day, checks where the sun sits at three in the afternoon, and stands in the spot the rest area would go to feel whether any air is moving at all.
Before you brief a builder — us or anyone else — this is the list worth working through on the actual site, ideally at the time of day you expect to use the zone most:
Most of these fail quietly. A zone with the wrong distance still gets built and still heats up; it just gets used less every month until it stops being used at all. Every item on this list is cheaper to fix on paper than in poured concrete.
Every decision in this list gets easier once the site has actually been walked — where the sun sits in the afternoon, which way the wind comes from, where the ground already falls, where power already reaches. That is what a survey is for, and it is why we do not quote a wellness zone from a floor plan alone.
Send us the plot, the rough dimensions and which direction it faces, and you get a circulation layout, a drainage plan, and a fixed price for the whole sequence — sauna, plunge and rest area — rather than three separate quotes never designed to sit next to each other. Indicative pricing for a complete zone like this starts from IDR 240,000,000 (≈ USD 14,800), confirmed once a survey has seen the site. Have a look at completed wellness zones, or start directly with our wellness zone design and build page.
Common questions
Three to five metres is the working range we design to. Closer than that and the plunge sits inside the sauna's heat plume, making the chiller work harder and picking up condensation from the hot room. Further than about eight metres, the walk between them tends to get skipped in wet weather, and the rest area often ends up somewhere else entirely.
Treating the sauna, plunge and rest area as three separate purchases rather than one circuit. Each decision looks reasonable on its own — best view for the sauna, easiest plumbing for the plunge, leftover corner for the rest area — but together, without a plan, they produce a space that heats up fine and still barely gets used.
Yes. At 30°C ambient and 80–90% humidity, the body does not finish cooling down after a cold plunge without help. Shade combined with genuinely moving air — a fan or a real cross-breeze — is what lets the rest phase actually complete before the next hot round, rather than a sweat starting again within minutes.
Indicative pricing for a complete sequence — sauna, plunge and rest area, designed as one layout — starts from IDR 240,000,000 (≈ USD 14,800). The final figure depends on distances, drainage work, electrical supply and site access, and is confirmed after a site survey rather than from a floor plan alone.
Often, yes, though retrofitting drainage and power under an existing deck is more disruptive and expensive than planning both from the start. If you already have one element built, a survey can usually work out a layout for the rest that respects the distance and drainage rules without demolishing what you have.
Keep reading
More from the journal on heat, cold and the specific ways this climate breaks things.
All 19 guidesCold8 min
Ice bath temperature isn't a race to the lowest number. The 8–12°C working range, a 15°C beginner entry, and…
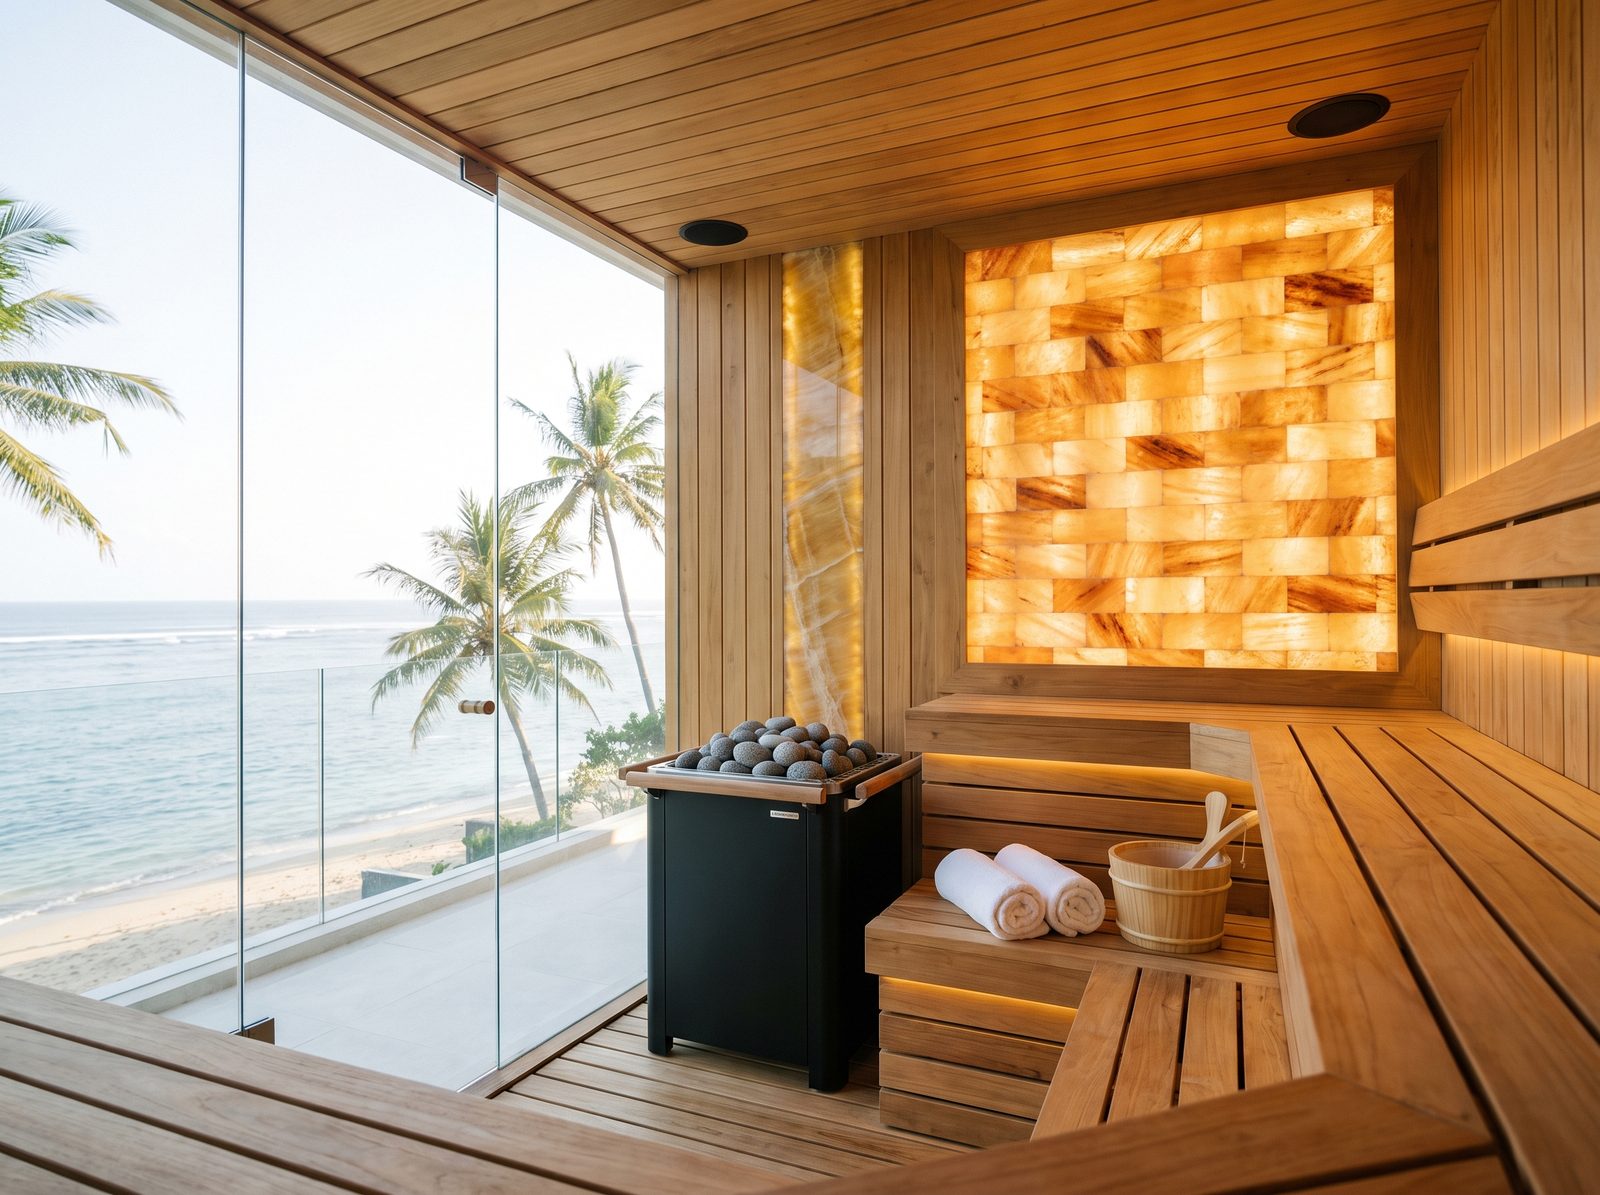
Technical8 min
Sauna electrical requirements in Lombok: PLN supply tiers, single vs three-phase, cable sizing, RCD earthing,…
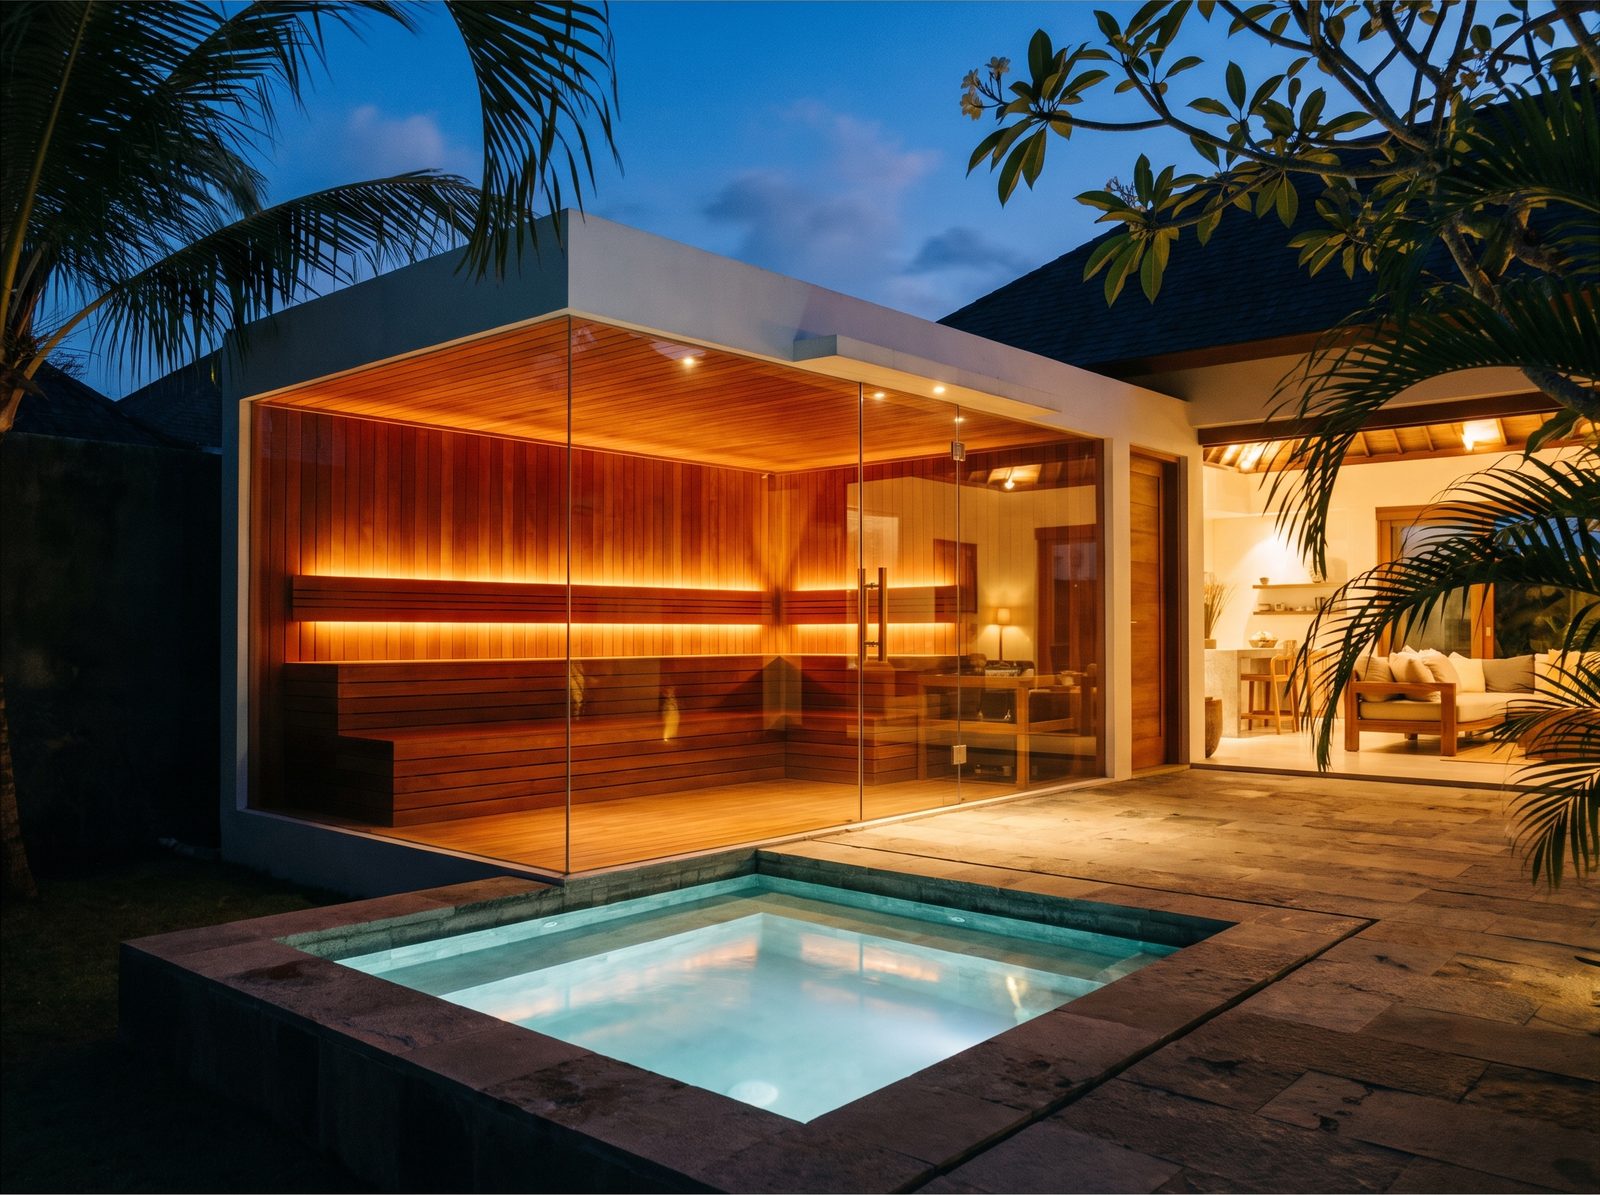
Buying7 min
Sauna cost Lombok, honestly broken down: heater, electrical upgrade, foundation, drainage, glass and freight,…
Next step
Send a photo of the spot and rough dimensions. You get a layout, a heat-load calculation and a fixed price — usually within two working days.